Getting started
This page describes the first steps in the Yres web app: logging in (or creating your account via an invitation), the structure of organizations, managing users and roles, and how environments work.
Logging in
You log in to the Yres web app on the /login screen. It is a centered login card without a sidebar
(front scope, unauthenticated). Enter your email address and password and click "Sign in".
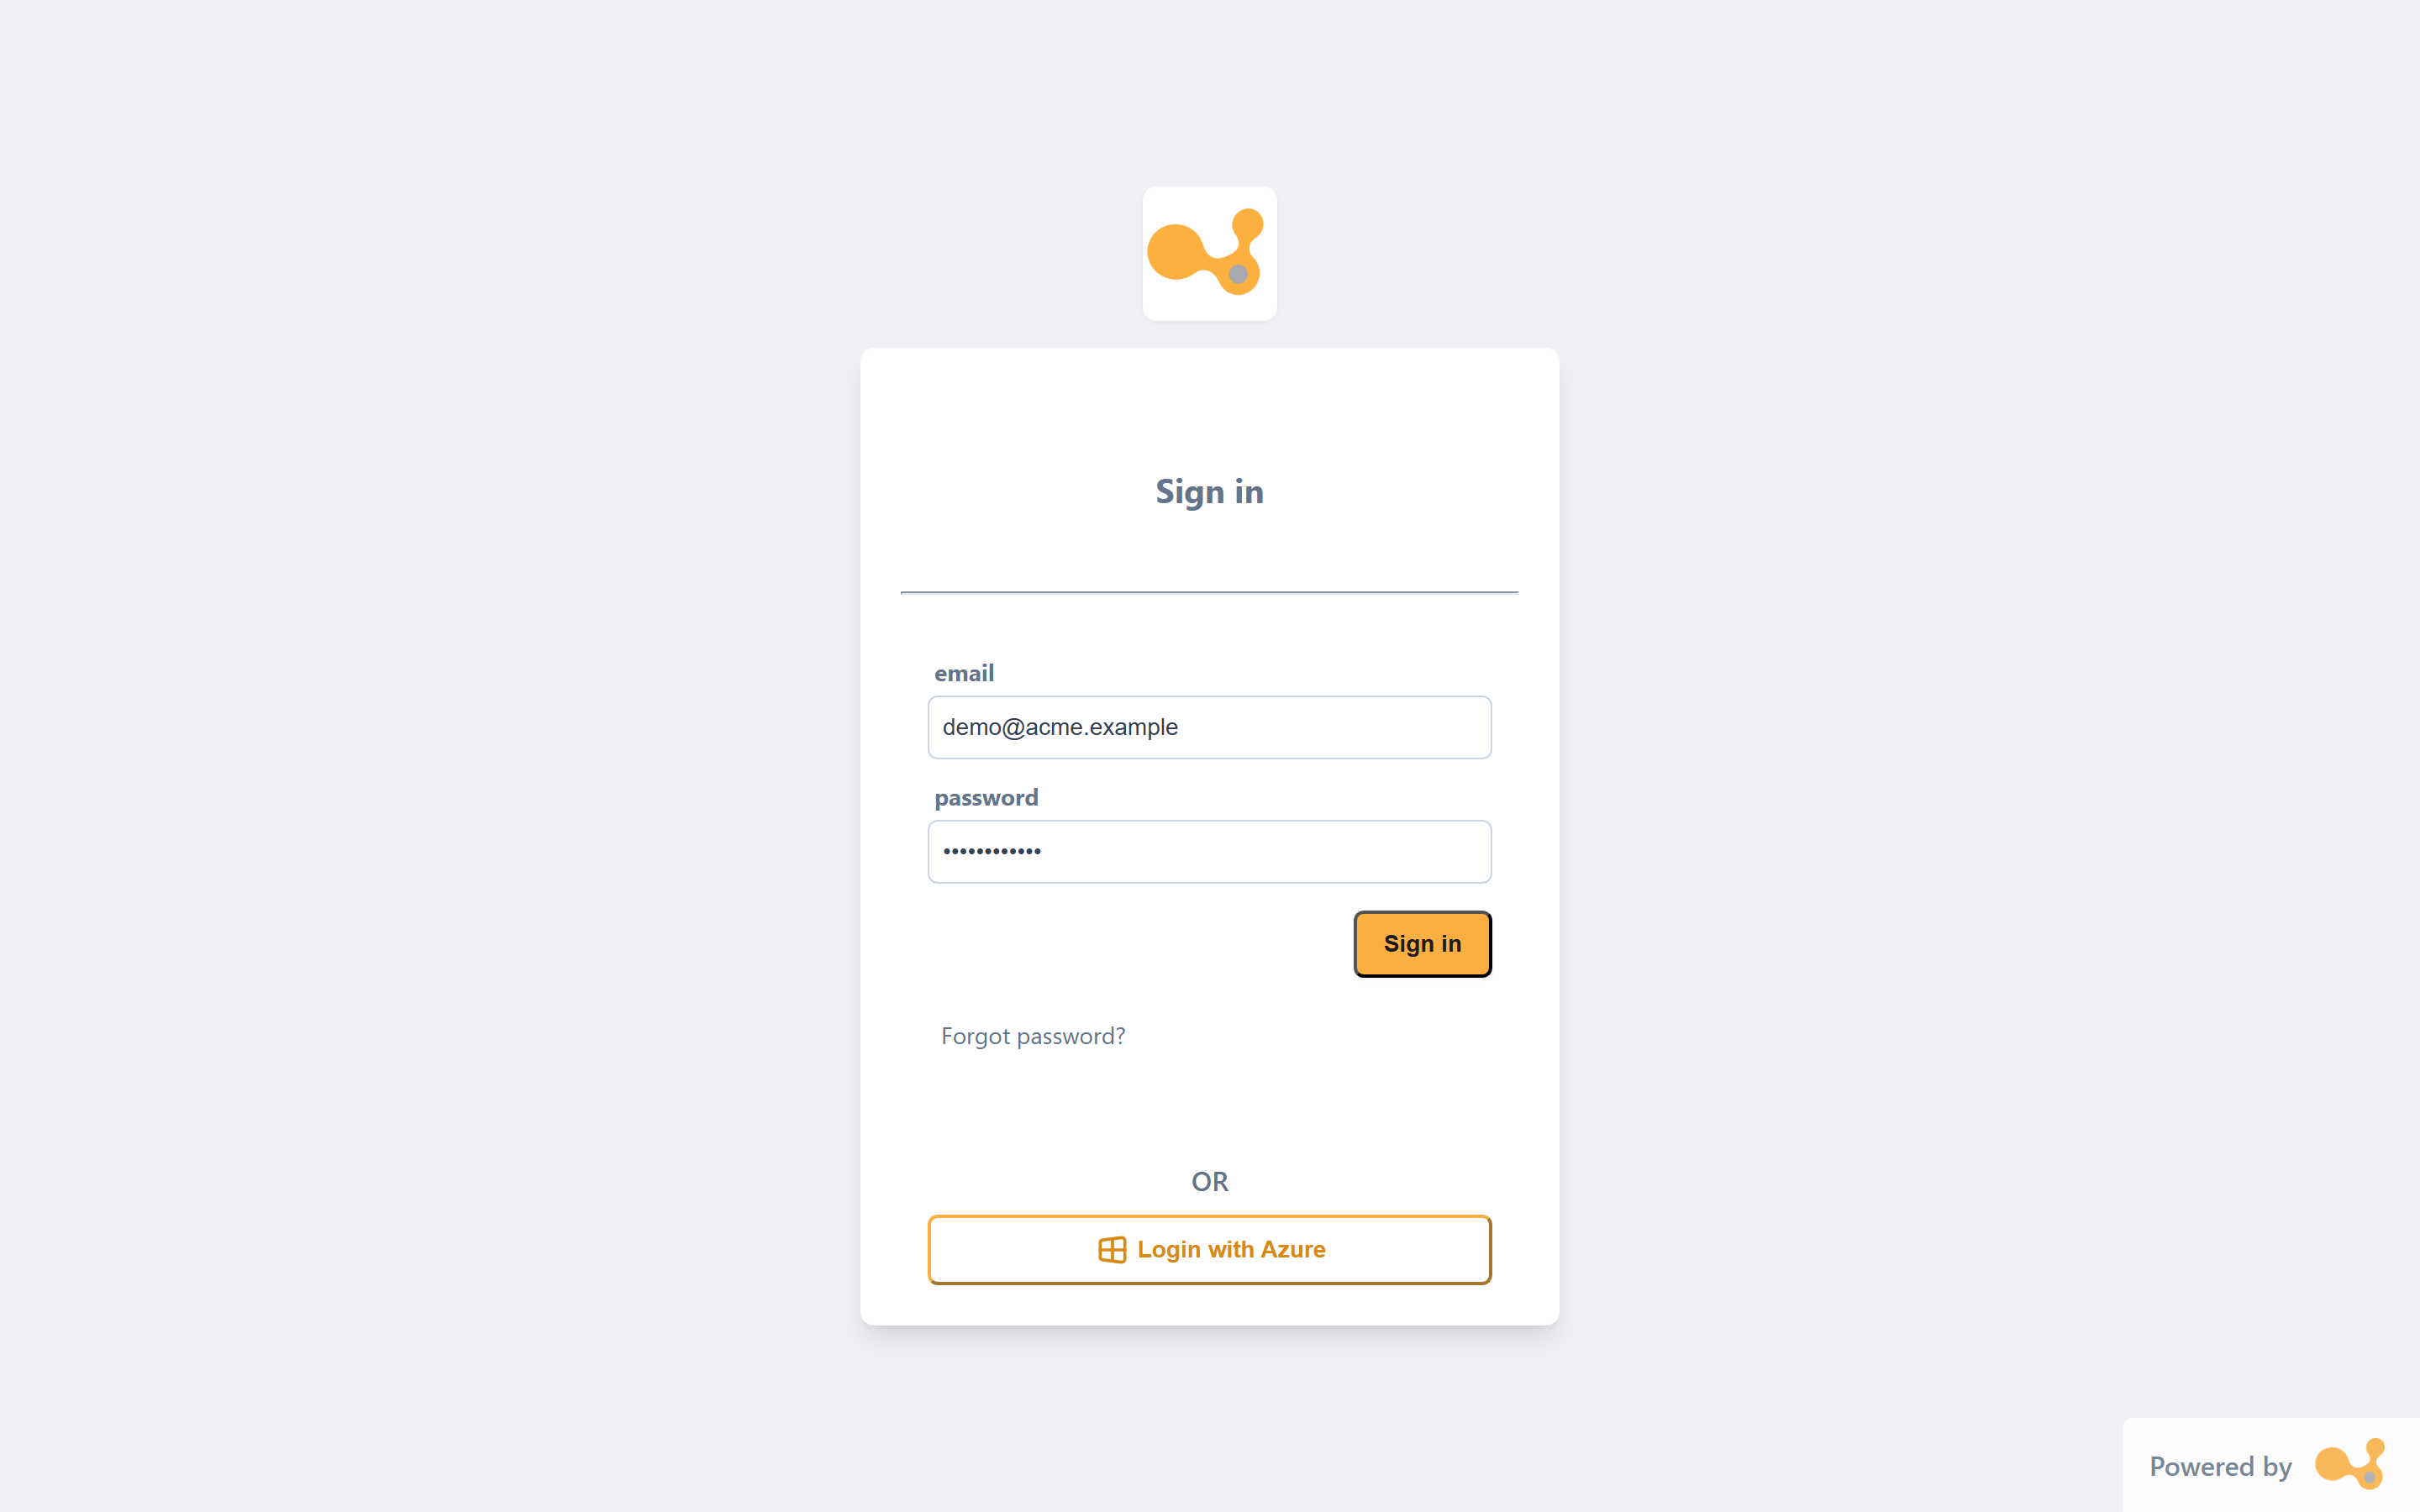
Centered authentication card on /login: email, password and a "Sign in" button, with a "Forgot
password?" link at the bottom.
- Logo / themed background — shows the Yres logo, or, if the organization has its own theme, the organization theme.
- Email field — required and must be a valid email address (validated via Yup).
- Password field — required (
type=password). - "Sign in" — submits the login (
POST /api/v1/login) and, on success, navigates to the home page (/). - "Forgot password?" — link to the forgot-password screen (
/forgot-password). - Error message — with incorrect credentials, the message "Invalid login credentials" appears.
Lost your password? Then follow the steps on the Account & user settings page.
Registering via invitation
You don't create a Yres account yourself; you are invited. Installing Yres requires an invitation link
from Plainwater that is tied to a single Microsoft account, is usable only once, and is configured for
the purchased Yres version (see License tiers). The link opens the
registration screen on /register.
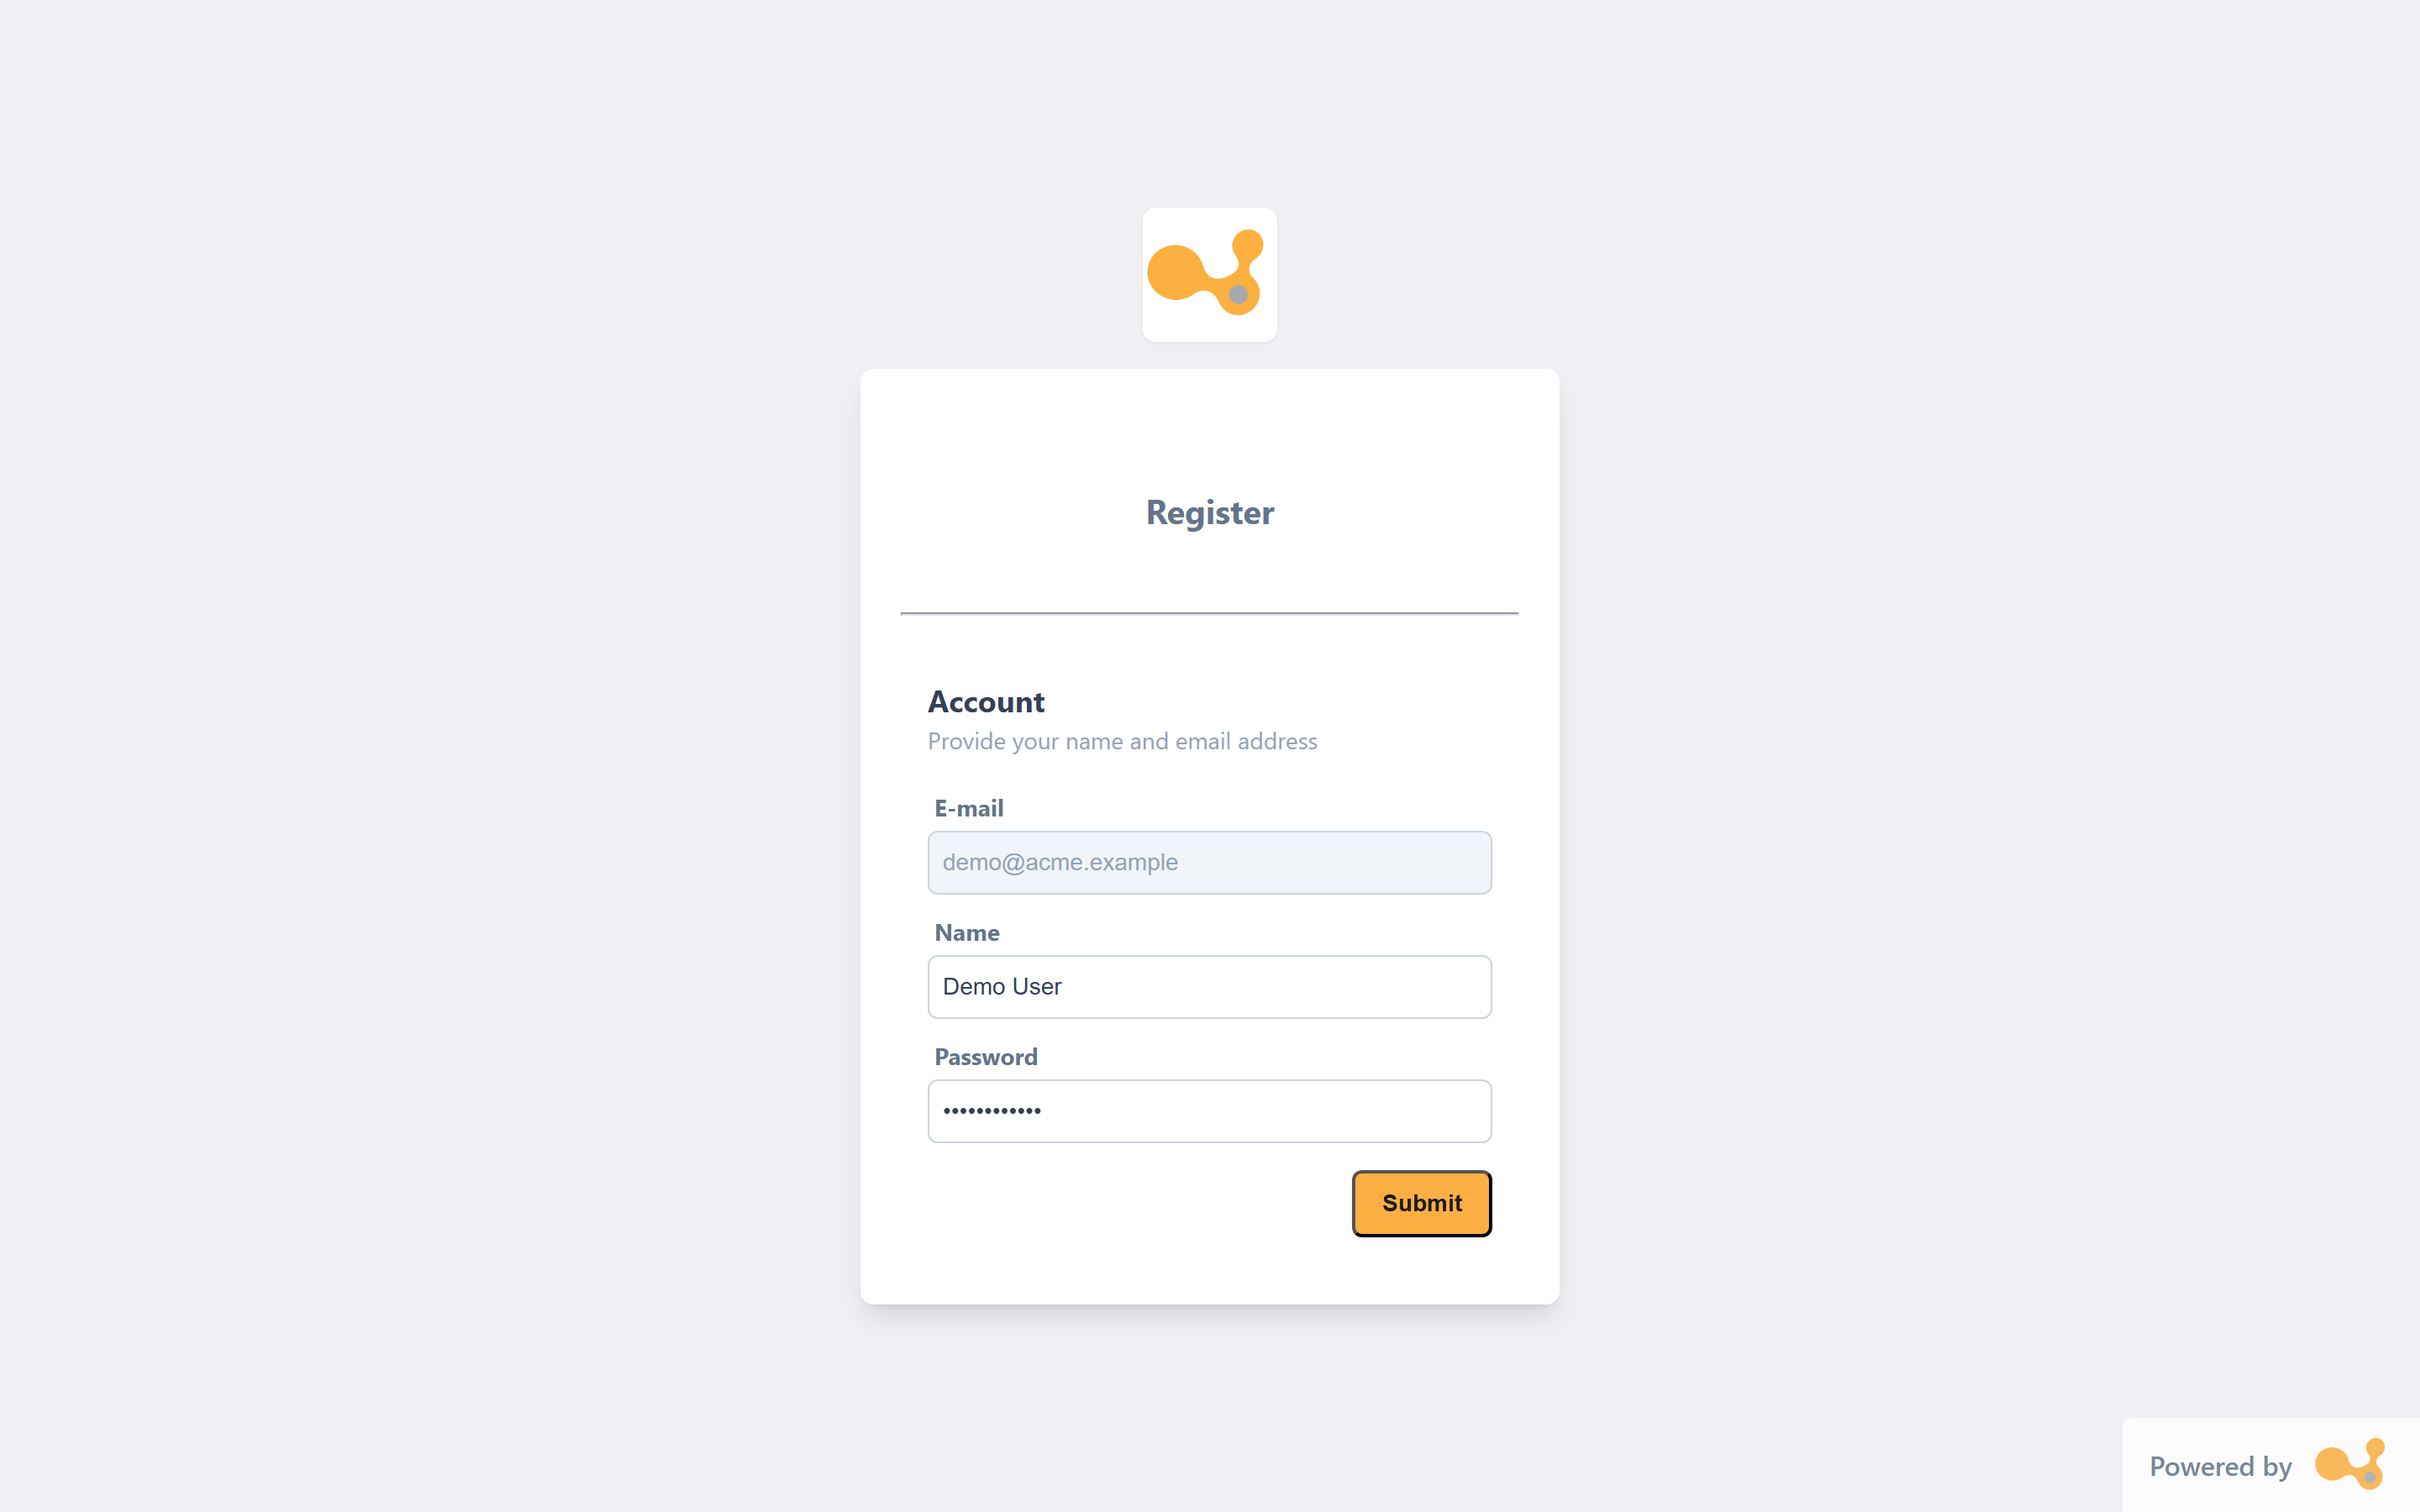
Centered card with a multi-step form that shows only a single visible step ("Account"). The email address is pre-filled from the invitation and is fixed.
- Step progress — the form is set up as a multi-step form, but only one step ("Account") is visible.
- Invitation note — shows the organization, the hosting type and the plan as recorded in the invitation.
- Email — pre-filled from the invitation and read-only (tied to the invitation).
- Name — your own name (required).
- Password — at least 12 characters, with uppercase and lowercase letters, a digit and a special character.
- "Continue" — creates the account and logs you in to the Yres web app.
Organizations
Organizations are the foundation of Yres: a partitioned space with one or more environments, so that
development (dev) stays separated from production (prod). Each organization has a unique, freely
chosen name; in addition, a secondary name is generated automatically using only the characters
allowed for naming Azure and DevOps resources. Organization names may not contain non-alphanumeric
characters (enforced by [dbo].[fxRemoveNonAlphaCharacters]).
Managing users
You manage users of your own organization in the Admin panel (/admin/panel). Here two tables sit side
by side: Users (visible columns: name, email, role, SSO) and Roles.
Users are invited via an email; the invitee creates an account themselves via
/register.
Levels
| Level | Permissions |
|---|---|
| User | No access to the Admin panel; only the features granted via roles. |
| Organization Admin | Admin rights within their own organization; access to the Admin panel. |
Managing roles
In the Admin panel you create roles in the Roles table for
fine-grained (CRUD) permissions. You edit them via MaintainRole; deleting prompts a confirmation dialog.
Assign a role to a user via the edit icon next to the user in the Users table.
So, in addition to the standard roles, you can define your own roles, combined with Azure SSO (enforceable per user) for authentication.
Environments
Environments are partitioned versions of an organization; changes in one environment do not affect another.
The first environment is always named dev — this name is fixed and recurs in the technical resource
names (for example sqlsrv-xxx-dwh-dev), even if you use a different convention internally.
License tiers and environments
How many environments (and sources) you may set up depends on your license tier. The structure of the tiers is:
| Tier | Sources (source systems) | Environments |
|---|---|---|
| Essentials | 2 | 1 |
| Advanced | 5 | 2 |
| Ultimate | Unlimited | Unlimited |
Important implications:
- Essentials has only one environment (
dev). The often-heard rule "at least dev and prod" therefore does not apply universally — only from Advanced onward are there two or more environments. - For organizations on a higher tier, 2 to 4 environments is a sensible choice (for example dev → test → prod).
The license is tied to a single Microsoft account, usable only once, and is enforced in the database.
Updating and managing environments
- Updating is done via the Admin tab Update environments (
/admin/environments). For each environment you see a card with the DWH version and the status, the result and the date of the last CI/CD run. Click a card to confirm the upgrade; you can only update non-devenvironments once the preceding environment is up to date. Always test a new version ondevfirst before updatingprod. - Switching between environments is done with the environment switcher in the top bar. It is only visible if the organization has more than one environment.
- Projects & changes categorize work and transport content from
dev→prod. This feature is only available for organizations with multiple environments (so not on Essentials). See Projects & Changes.